Table of Contents
- How to Upgrade Your CPU:
- Do you need a new motherboard to upgrade your CPU?
- Picking your CPU:
- Installing the Processor:
- Conclusion:
How to Upgrade Your CPU:
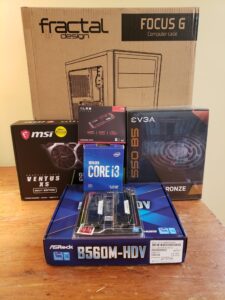
Whether your processor is 10 years old and in dire need of an upgrade or you’re just looking to add a few cores to your system, you’ll eventually and inevitably have cause to upgrade your CPU. When this time comes, it’s important to know what to look for in a new processor, but it’s also essential that you make sure the rest of your system is compatible. We’ve got you covered with a step-by-step guide to upgrading your processor, from actually choosing one to installing it.
Do you need a new motherboard to upgrade your CPU?
Compatibility is, of course, the foremost factor to consider when looking for a new processor. If your new CPU isn’t compatible with the rest of your system, it will be effectively worthless.
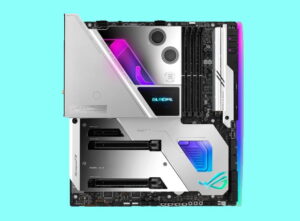
Your motherboard is the main component that will determine CPU compatibility. Different motherboards come equipped with different chipsets and different CPU sockets. If your motherboard is more than a couple of years old, you’ll need to get a new motherboard if you upgrade to a latest-gen CPU, as CPU sockets change every few generations.
If you want to keep your same motherboard, your upgrade options may be more limited. For example, if you’re currently using an i3-9100, you’ll only be able to upgrade to another 9th-gen Intel processor, since these use an LGA1151 socket, while the newer 10th and 11th generations are LGA1200. If you wanted to get a newer-generation Intel processor, or wanted to upgrade to an AMD model, you would have to buy a new motherboard that was compatible with the processor.
With this in mind, it’s important to decide whether or not you’re willing to buy a new motherboard. If your budget is tight and you don’t want to fork over the extra money, make sure the processor you’re looking for is compatible with your current motherboard. The easiest way to do this is to select your motherboard’s exact model in PCPartPicker and then browse the filtered list of processors that it gives you, as it saves you the hassle of checking for chipset and socket compatibilities.
If you’re okay with buying a new motherboard, this will open your options up significantly. If you fall into this category, you have full freedom to choose a processor first, and buy a motherboard based on that decision. Once you’ve selected a CPU, the easiest way to find a compatible motherboard is to put your CPU of choice into PCPartPicker and work from there.
Picking your CPU:
Before you upgrade, you’ll obviously need to pick your new processor. This is a complex process that involves consideration of a large variety of factors, so check out our Beginner’s Guide to Building a PC‘s CPU section in Part 2 for a more in-depth guide to doing so.
Integrated graphics:
CPUs are available from two brands: Intel and AMD. AMD’s chips are branded as “Ryzen” processors, while Intel makes “Core” CPUs. If you don’t have discrete graphics (meaning a separately installed graphics card) in your PC, you need to choose a processor with integrated graphics.
For Intel, integrated graphics are the status quo. Every Intel CPU has integrated graphics, unless denoted with an “F” in the model name. For example, an i5-10400F doesn’t have integrated graphics, while an i5-10400 does.
AMD processors don’t come with integrated graphics by default, so if you don’t have discrete graphics and still want to buy a Radeon chip, you’ll have to look for one with a “G” designation, such as the Ryzen 3 3200G.
Processor tiers:
Next, you’ll want to decide what you want performance-wise from your CPU. As a general guideline:
- Core i3 and Ryzen 3 processors, especially the newest ones like the i3-10100 and Ryzen 3 3100, are great for budget gaming or basic processes like checking email, creating spreadsheets, or tasks similar in intensity. We recently benchmarked an i3-10100 build and found that it ran at over 120FPS easily in most games, running at only 40-50% load (it was bottlenecked by the graphics card). On the other hand, if you’re looking to perform more CPU-intensive tasks like high-FPS/high resolution gaming or video editing, you should probably look for a more powerful processor.
- Core i5 and Ryzen 5 processors are generally considered the best pure gaming processors, as they perform very similarly to 7 or 9-tier CPUs at a lower price. Newer-generation i5 and Ryzen 5s have 6 cores to the i3 and Ryzen 3’s 4, thus giving them greater processing power. These extra cores make the 5-tier processors excellent mid-range options; paired with the right graphics card they can run games at upwards of 240FPS. They’re also great for multitasking, and can run some pretty heavy-duty computational tasks.
- Core i7 and Ryzen 7 processors are top-notch, even overkill, for the large majority of people. If you want to run games at extremely demanding settings, such as 1440p or 4K at high framerates, this might be the best option for you. Most CPUs in this tier have 8 cores, and are thus even better suited than 5-tier processors for extreme multitasking.
- Core i9 and Ryzen 9 processors are for only the most extreme builds. They are the most capable CPUs on the market, featuring 10 or more cores, and offer the highest possible performance for games, editing, or anything else you can think of.

For the large majority of consumers, 9-tier processors are not worth the lofty price. Each tier offers diminishing returns in performance, with most people considering i5 or Ryzen 5 processors to be the sweet spot for price and performance. Each tier includes at least a few CPUs, with the lower-numbered processors packing slightly less punch than higher-numbered ones (so a i5-10400 is not quite as powerful as an i5-10600).
Making the final decision:
In the end, it’s difficult to quantify performance, as it varies so greatly between tasks. I’ve found that the best way to get an idea of performance is to read other peoples’ reviews of a processor, what they used it for, and how it performed. If there is a specific game you want to run, look up benchmarks of that processor paired with the graphics card you use in-game and see if it meets your desired performance thresholds. I’d recommend YouTube videos of benchmarks rather than sites that give an “Estimated FPS,” as YouTube videos use the actual hardware, and are therefore a more accurate representation of performance.
If you want a multitasking workstation, read others’ reviews of the processor and see how it performed for them. By doing this, you can get a great idea of whether or not a processor will suit your needs. If, based on reviews you read, it doesn’t seem to pack quite enough power, you can always try the next step up.
Installing the Processor:
Once you’ve selected your processor and ordered a compatible motherboard (if necessary), the only thing left to do is install it. Processors are relatively easy to install; just unplug your PC’s power cord and follow the steps below:
Remove the old motherboard and install the new one
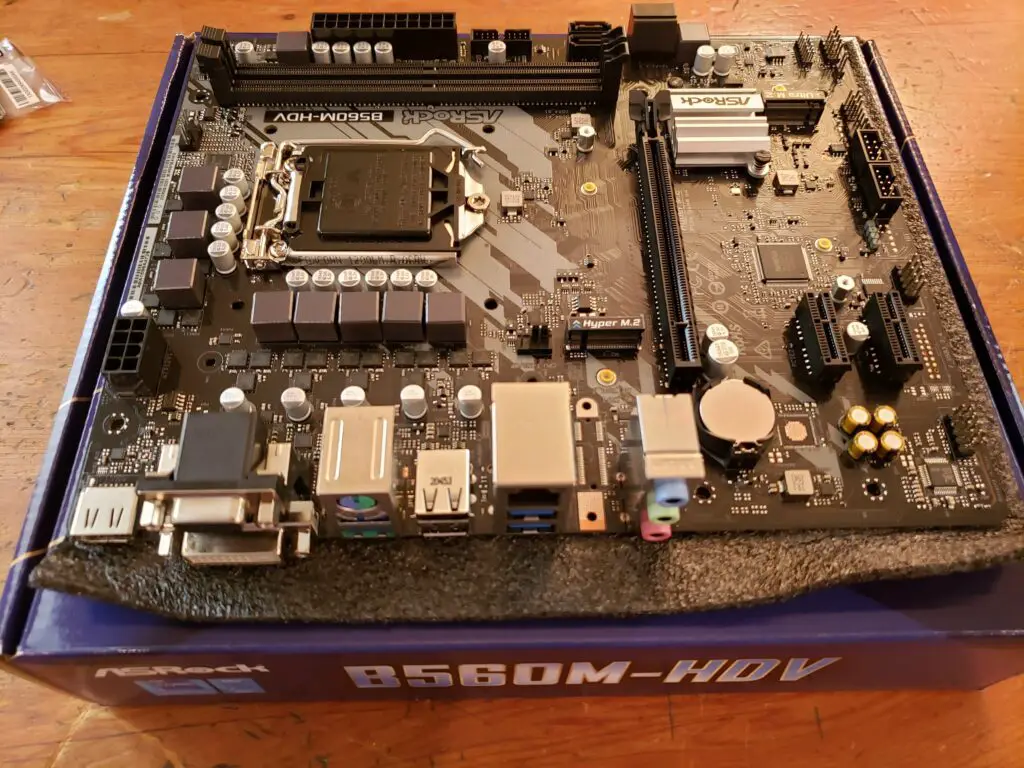
If you’re upgrading your motherboard along with your CPU, it will take a little bit more effort to install your processor. You’ll first have to detach all power, case, and storage cables from the motherboard, remove any discrete graphics card that’s installed, and unscrew the screws holding the motherboard in place. Gently lift the motherboard out by the cooler. Remove the old IO shield, put in the new one, and reinstall the motherboard and any components that were removed. If you need help doing this, consult our Beginner’s Guide to Building a PC, as it covers the process in full.
Remove the CPU cooler
CPU coolers vary in design; yours may be held in place via screws in the back, it may have a simple 4-pin design where you just need to twist the pin, or it may be something entirely different.
Regardless of your cooler design, it should be relatively easy to take off. Disconnect the cooler’s cable from the CPU fan header, and remove the cooler. Once you have it free from the motherboard, set it aside and move on to the next step.
CPU Installation
Intel
Remove the plastic covering over the CPU socket if necessary. Disengage the spring-loaded lever arm and lift up the covering that holds the processor in place, so that the pins in the socket are exposed. Remove your old CPU, if applicable.
Gently place the CPU in the socket, making sure that the notches in the sides are aligned with the cutouts in the socket and the triangle in the corner of the CPU is aligned with that of the socket. It should drop into place easily; don’t force it. Once it’s seated properly, close down the lid with the metal arm and lock it back into place.
AMD
AMD CPUs are installed very similarly; the main difference is that AMD processors have the pins on the processor, rather than in the socket. Take great care not to bend these pins during installation, as this could ruin your processor.
First, lift up the lever arm and remove your old processor if necessary. There will be a small triangle on one corner of the processor; make sure to align this with the triangle in the corner of the socket. Gently set the CPU in the socket, letting it fall into place. You shouldn’t have to force it. Once it is seated properly, close down the lever arm.
Installing the cooler:
If you are reusing your CPU cooler, use a cotton ball and rubbing alcohol to thoroughly clean any thermal paste off of it. Apply a small drop of thermal paste to the lid of the processor, right in the center.
Now install the cooler, based on the instructions it came with. Make sure that it’s seated well; it shouldn’t move when you apply torque to it.
Conclusion:
Put the side panel back on and your computer will be ready to run. Keep in mind that you may need to reinstall Windows after a large hardware change like a motherboard swap, so have another storage drive available for this purpose; you can migrate your data to the new drive once Windows is installed and bootable.
While it’s typically not necessary, some CPU upgrades require you to update your BIOS. If this is the case, do so. After that, your computer will be ready to boot, and faster than ever.
Art of PC is reader-supported. If you make a purchase through one of our affiliate links, we may receive a commission. Thanks for your support!