Table of Contents

Overview:
March’s Build of the Month is a budget-friendly (as 2021 goes) gaming rig. The parts we used are:
| Graphics Card: | MSI Ventus GTX 1650 |
| Processor: | Core i3-10100F |
| Motherboard: | ASRock B560M-HDV |
| RAM: | G.Skill Ripjaws 8GB DDR4 (2x4GB) |
| Storage: | PNY CS3030 1TB NVMe SSD (3500MB/s) |
| Case: | Fractal Design Focus G |
| Power Supply: | EVGA 550W B5 |
| Monitor: | Dell S2421HF 24″ 1ms 1080p |
| Cables: | For 144hz: DisplayPort Cable or HDMI 1.4 Cable |

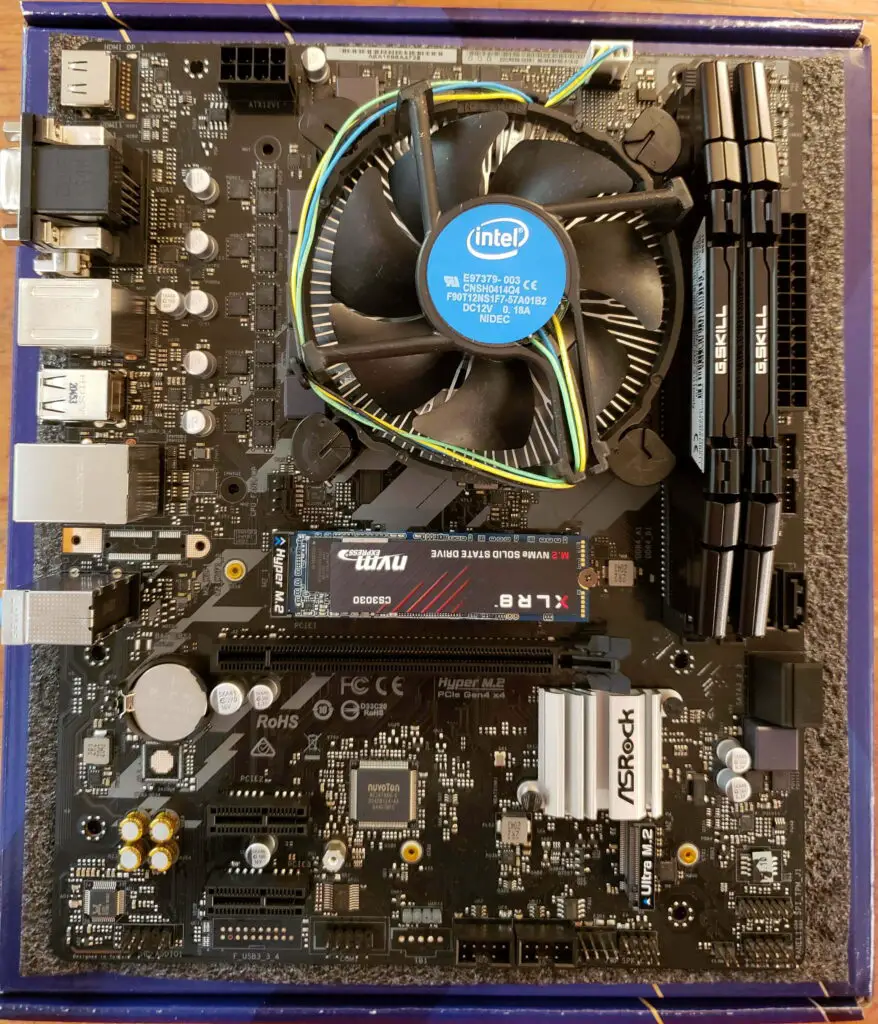
Processor: Core i3-10100(F)
Intel’s 4-core, 8-thread 10100 is a budget builder’s dream. Don’t let the i3 designation fool you; it packs significant power. In our benchmarks of this BOTM, it was pushing 144 frames with ease in several games, without coming close to max load. The 10100F is the exact same processor; the only difference is its lack of integrated graphics, which doesn’t matter all that much if you’re building a PC with discrete graphics like this one. With that in mind, buy whichever version is cheaper unless you want to use the processor without a graphics card in the future.
Both the 10100 and 10100F also come with Intel’s stock cooler. It’s nothing special, but it’s more than enough for the 10100, as it’s not the hottest-running CPU by a long stretch. It comes pre-applied with thermal paste, so don’t worry about buying any.
Graphics Card: GTX 1650
The 1650 is a great low-middle tier graphics card, and suits this build perfectly. There are minimal bottlenecks when paired with the 10100, which is the most important factor to consider when trying to squeeze out the maximum performance per dollar.
While it may not be the most powerful GPU on the market, the 1650 consistently cranked out 120+ FPS in our 1080p benchmarks of this build. It’s as good of a budget card as any right now, as it sits in the $500-600 range new. I also like the fact that no power cable is necessary, since it needs less than 75W and is able to get all of that directly from the motherboard. If you’re looking to run demanding games at max settings or higher resolutions at 120+ FPS, you may want to consider spending the extra $150-200 on a 1660 Ti or 1660 Super, but in general the 1650 is more than enough for 1080p 144FPS on low settings, 1080p 60FPS on ultra, or 1440p 60FPS on low to medium.
Motherboard: ASRock B560M-HDV
The B560M-HDV is a great base-level motherboard. The primary important factor is its two M.2 slots, which means it’s compatible with NVMe drives without expansion cards. It’s very basic in every other sense: It has two RAM slots and one PCIe x16 slot. While it’s certainly not overkill, the B560M-HDV covers all of the bases at an affordable price point, which is why I’ve selected it for this build.
Storage: PNY CS3030
The PNY CS3030 is a lightning-fast NVMe SSD, with maximum read/write speeds of 3500/3000 MB/s, respectively. That speed combined with a competitive price ($0.11/GB for the 1TB model), makes the CS3030 an excellent choice for storage.
If you don’t care about system-wide high read and write speeds and just want a fast boot time with more storage, consider downgrading to the 250GB and buying a higher-capacity drive like the Seagate BarraCuda or Western Digital Blue. They both cost about $80 for 4GB or $50 for 2GB, so your money will go a lot further capacity-wise with these.
RAM: G.Skill Ripjaws DDR4 (2X4GB)
The 10100 actually only supports a max memory speed of 2666Mhz, but the 3200Mhz version is currently more affordable than slower models (it’s $50 on NewEgg), so there’s no reason not to get the faster version. It’s high-quality dual-channel DDR4 RAM that doesn’t break the bank, and 8 gigs should be plenty for most people. If you plan on using your computer to multitask a lot, you may want to upgrade to 16GB of RAM, like this.
Power Supply: EVGA 550W B5 (Fully Modular)
At 550 watts, this power supply is definitely overkill for this build; it’s estimated wattage at max load is less than 250W. I selected a 550W PSU despite this, primarily because of its modularity (this was the cheapest fully modular PSU I could find that’s made by a reputable brand). The upside is that it leaves a good deal of room for upgrades, should the GPU crisis end. It’s always good to have more wattage than you need from your power supply. Additionally, the 550 B5 is only $60 at the time of writing, since EVGA is currently offering a $30 instant rebate on it.
If you don’t mind having a few unused cables in your case and the rebate is no longer active, consider buying a cheaper PSU like the CX450M. It’s about $20 less, semi-modular, and still provides plenty of power for this build.
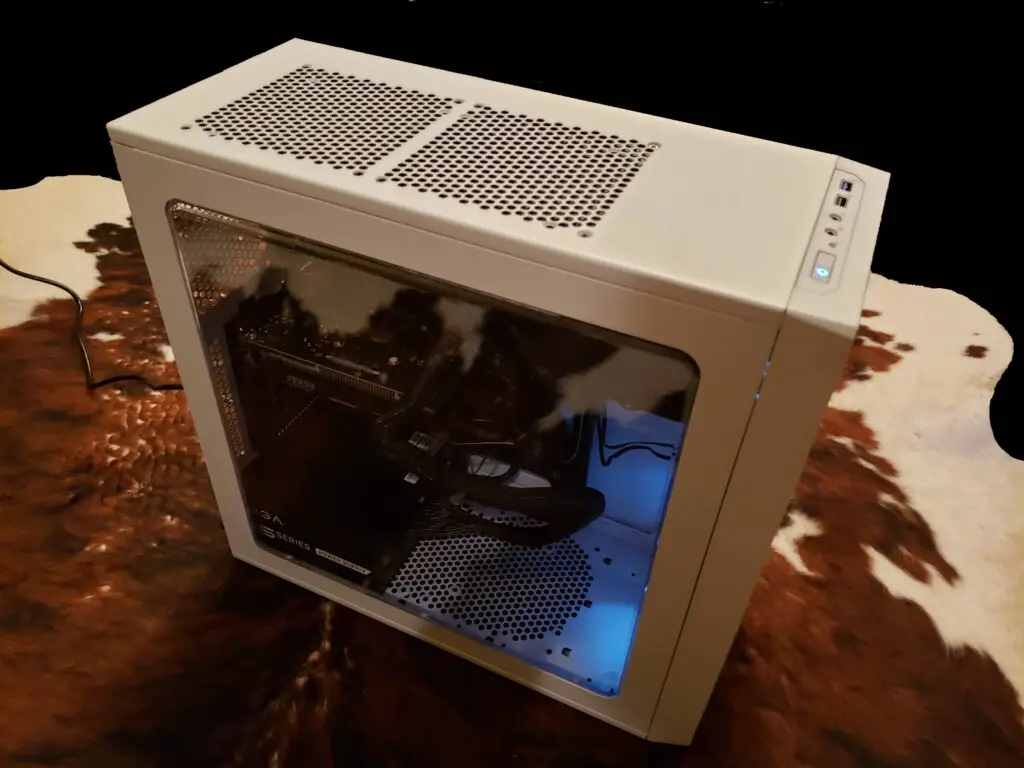
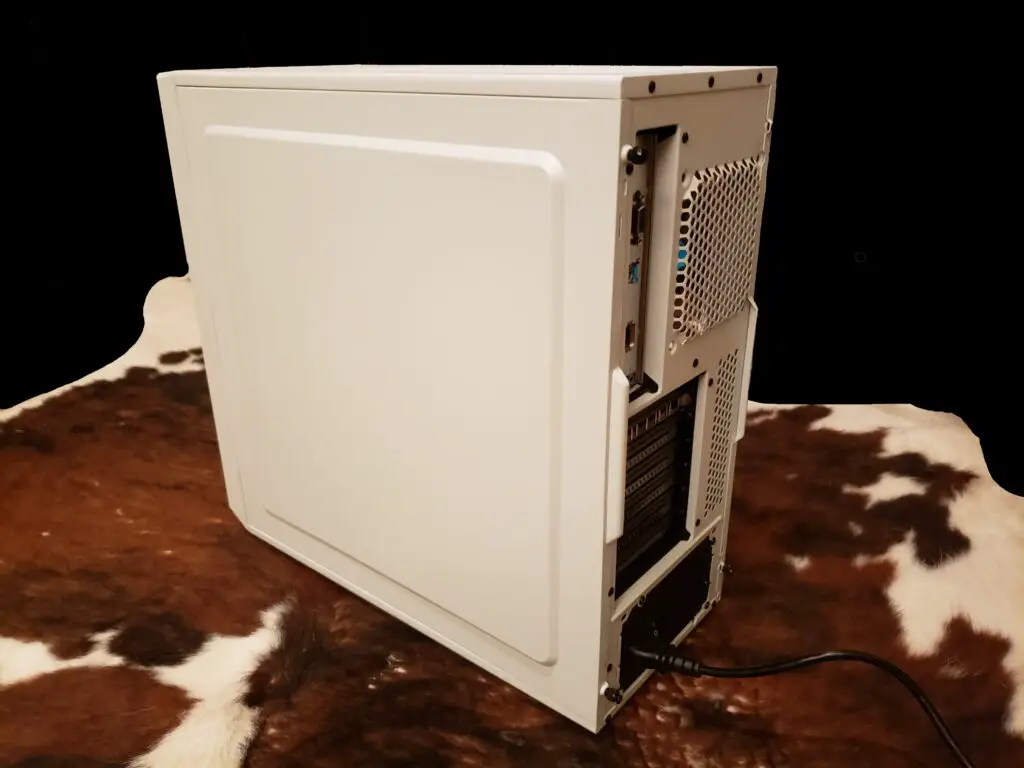
Case: Fractal Design Focus G (White)
The Fractal Design Focus G is a great-looking case with good airflow and plenty of room. While I used a white one in my build, it also comes in black, blue, gray, and red. It comes preinstalled with 2 case fans, which is all that is necessary in this build, since it hardly generates any heat. It also supports up to 4 additional case fans, should you need more in the future.
Monitor: Dell S2421HGF
If you build a computer that pumps out 144 frames per second, you’ll probably want a monitor to matches its performance. Dell’s 1080p, 144hz, 1ms response time monitor does just this for a very affordable price, which is why I selected it for this build. It also comes with standard adjustable height and tilt.
Alternatively, if you’re looking to play games in 1440p you may want to opt for the Acer V277U. It’s a 1440p monitor with a 75hz refresh rate and a negligible 4ms response time. Keep in mind, you’ll need a DisplayPort or HDMI 1.4+ cable to take advantage of the extra 15 refreshes per second, so it’s effectively a 60hz monitor if you’re using an older display cable. It’s tilt-adjustable, but cannot be height-adjusted. If adjustable height is a must-have for you, Acer’s XV272U has this feature.
Benchmarks:
I tested this PC in a number of games on various settings to get an idea of how it performs in differently-optimized games. These games were Fortnite, Apex Legends, PUBG, and VALORANT. It performed rather impressively, as you can see below. FPS values are averages over an extended period of play, so account for fluctuations; just because you can average 60FPS doesn’t mean you’ll be able to get it steadily.
Fortnite:
| Low | Medium | High | Epic | |
| 1080p | 187 | 127 | 74 | 51 |
| 1440p | 122 | 72 | 44 | 32 |
Apex Legends:
| Lowest | Highest | |
| 1080p | 132 | 67 |
| 1440p | 86 | 46 |
PUBG:
| V. Low | Low | Medium | High | Ultra | |
| 1080p | 128 | 102 | 88 | 80 | 54 |
| 1440p | 94 | 56 | N/A | N/A | N/A |
VALORANT:
| Low | Medium | High | |
| 1080p | 252 | 226 | 206 |
Conclusion:
In almost all of the games, the CPU hovered at around 30% load, bottlenecked by the 1650, and almost never went above 50%. While bottlenecks are generally considered bad, this is only because it means you’re not getting the best performance for your money. In this instance, however, it’s a good thing. The 10100 is Intel’s cheapest 10th-gen desktop processor, which means that you couldn’t get better performance by buying a cheaper processor; it is the cheapest. What the CPU’s minimal load does tell you, however, is that there is plenty of room to upgrade. If you’re trying to wait out the GPU shortage and get your hands on a 30-series like a lot of people, this build is a great option.
Looking at the results, this build excelled at 1080p gaming, and was easily able to get 120FPS in most games on low settings. In less strenuous games like CS:GO and VALORANT, it can even push 240 frames. If 60FPS is enough for you, this system can run all but the most GPU-intensive games at max settings.
On the other hand, if you’re trying to run high settings at more than 60FPS or game in 1440p, this build won’t suit your needs. The 10100 is perfectly capable, but the 1650 doesn’t quite cut it. If you’re in this situation, you’ll need to buy a more powerful card.