Introduction to Neoxa

Neoxa is a very new project; it just emerged into the crypto scene in mid-July. With the recent Ethereum merge and the death of ETH mining GPU owners are looking for a new best cryptocurrency to mine, and Neoxa is one that has found favor with many. So, what is Neoxa?
It’s a pretty standard Proof of Work coin that uses the same KawPow hashing algorithm as the more mainstream Ravencoin. What differentiates Neoxa is its tiny market cap (which makes it more speculative but gives it increased upside) and its ability to be mined by gaming as well as GPU-mining (dubbed POG or Proof of Game).
At the time of writing NEOX has a maximum supply of 21 billion coins, a market cap of roughly $3.1 million, and a fully diluted market cap (the market cap when all coins are mined if valuation were to remain the same) of $91.8 million. This makes it a pretty tiny crypto in the grand scheme of things; it’s currently ranked 2959th in market cap.
Should you mine Neoxa?
It’s worth noting that we don’t recommend mining Neoxa if you’re looking to turn an immediate profit. Regardless of what graphics card you’re working with, Neoxa’s profitability is almost certainly negative. For instance, with an RTX 3080 you’ll be losing roughly 50 cents a day in electricity (at 10 cents/KWH) while only mining 35 cents worth of NEOX.
This is the case with virtually every coin right now; with all of Ethereum’s hashing power distributed over many smaller projects, none are profitable to mine. Consequently, only mine if you’re willing to risk the small loss. Alternatively, consider mining Neoxa by gaming (detailed later in this guide).
With that being said, let’s look at how to mine Neoxa.
How to set up Neoxa Core Wallet
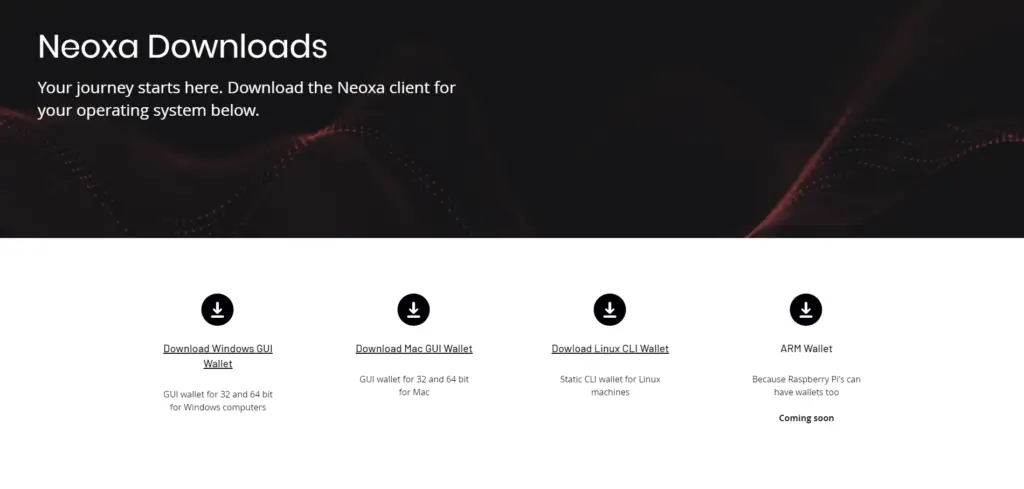
To mine Neoxa, you’ll first need a place to store it. That’s where your wallet comes in. Head to Neoxa’s wallet downloads page and choose the correct one for your operating system. Since we’re using Windows 10 in this guide, we’ll download the Windows GUI Wallet.
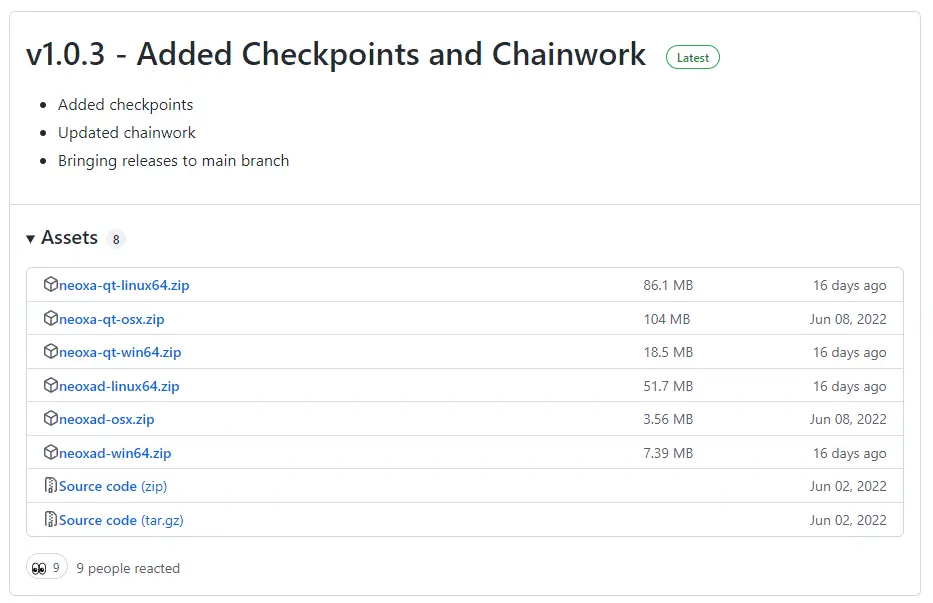
Upon clicking the download link you’ll be taken to the GitHub page for these. Alternatively, you can click the previous link and navigate straight there. Once again, select the appropriate download for your OS. For us, that’s neoxa-qt-win64.zip.
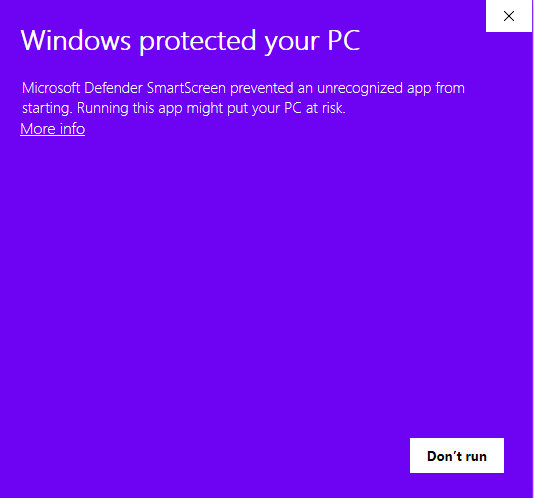
Once it’s downloaded, extract the contents of the .zip file and double click the executable file. On Windows you might get a popup like the one shown below. Simply click More info and then Run anyway to run the NEOX wallet.
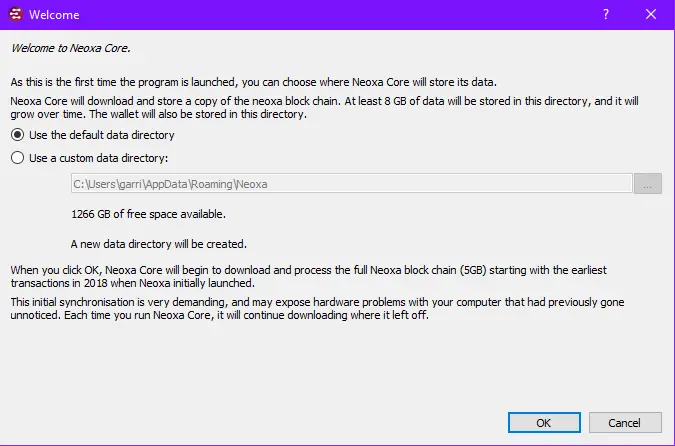
When the wallet begins running for the first time you’ll be prompted to select your data directory location. We recommend selecting Use the default data directory.
Next, you’ll need to generate a recovery phrase. To do so, select Generate in the menu shown below. This will randomly generate a recovery phrase for your Neoxa wallet. You can optionally add a passphrase for an additional layer of security; it’s recommended that you do this.
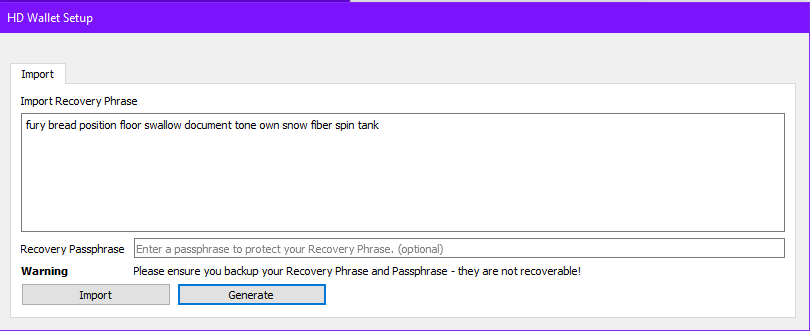
Write both your recovery phrase and passphrase down and store them somewhere secure. These are the keys to your wallet, and you’ll lose access to any funds stored within if you lose them.
Now, choose Import to create a wallet with your newly-generated recovery phrase. You’ll be prompted to encrypt your wallet with a passphrase; do so now.
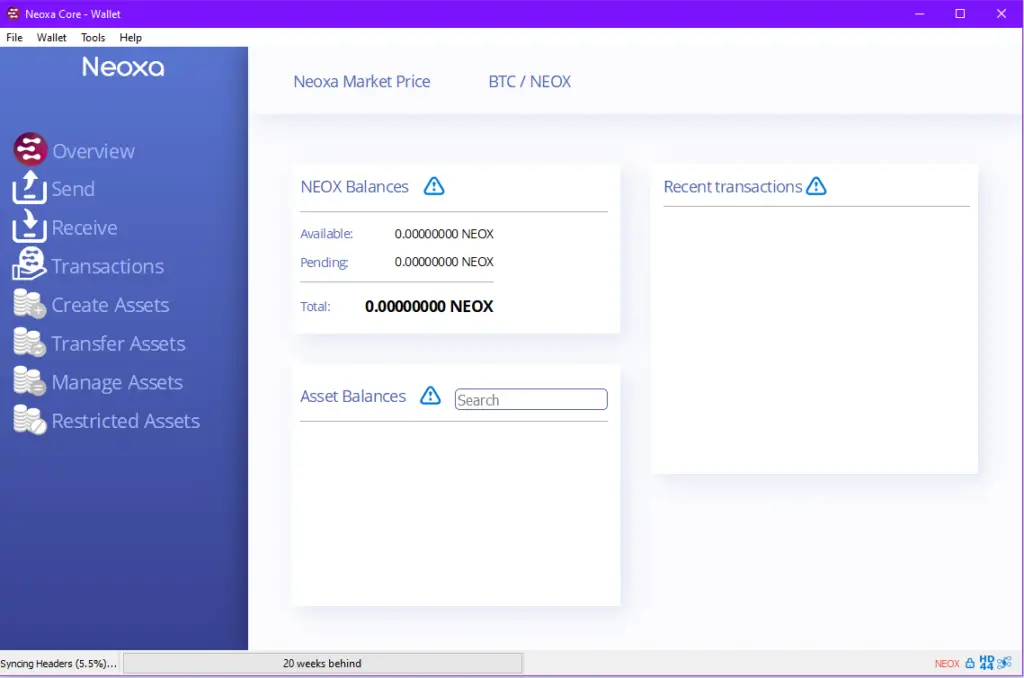
Your wallet will have to synchronize with the blockchain, which may take a while. You can begin mining before it’s fully synced, but funds won’t display until the client catches up to the block in which they were distributed to your wallet.
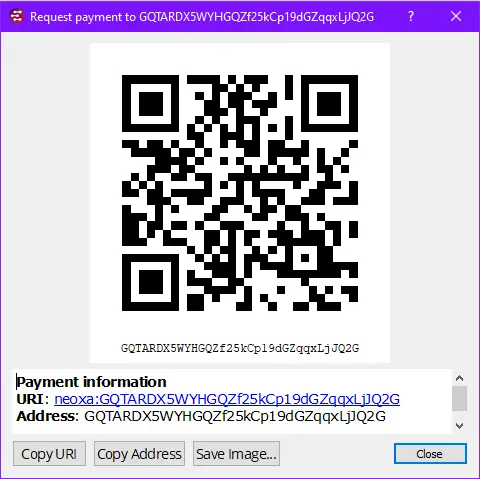
Lastly, you’ll need to locate your wallet address so that you can receive funds from the mining pool. To do so, navigate to Receive > Request Payment and copy your address. It should be located beneath the QR code, as shown below. Keep this handy, as you’ll need to paste it in a little bit.
How to GPU-Mine Neoxa
Now that your wallet’s set up, you’re ready to get started mining. Here’s how to get your rig up and running.
Download the Miner
To mine, you’ll need mining software. There’s a good chance you already have a compatible program, as KawPow is a widely-supported algorithm.
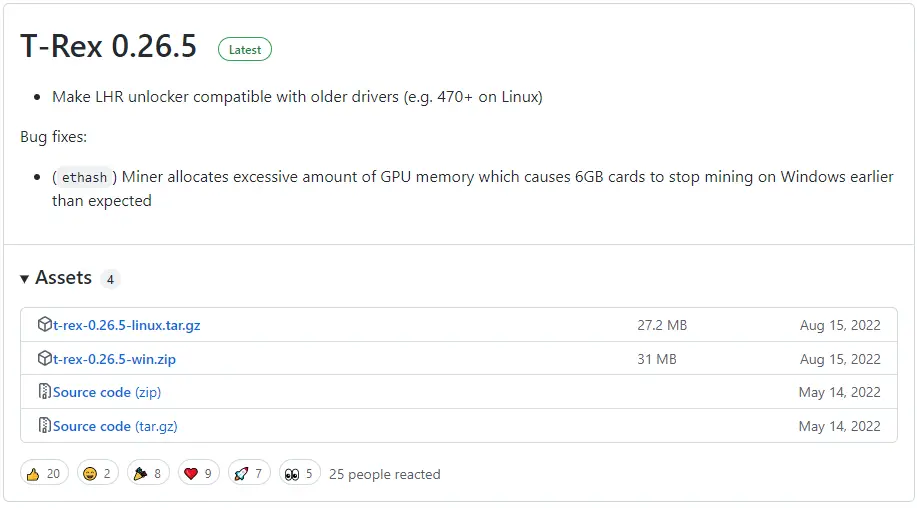
For this guide, we’ll be using T-Rex Miner, as it’s one of the most reputable and effective miners. Head to T-Rex’s GitHub and download the correct .zip file of the latest release for your OS (t-rex-0.26.5-win.zip for us) and extract the contents to a folder on your desktop or another memorable location.
Create and Configure The Batch File
Now that T-Rex is downloaded, you’ll need to create a batch file that you can run whenever you want to start mining. This is essentially a small script that opens the command line and tells your computer to begin mining Neoxa.
In the same folder as t-rex.exe, create a new text file named Neoxa.bat. It’s imperative that it has the .bat extension, or the script won’t execute.
Next, paste in the following code:
@cd /d "%~dp0"
t-rex.exe -a kawpow -o stratum+tcp://neox.2miners.com:4040 -u <YOUR_WALLET_ADDRESS>.<WORKER_NAME> -p x
pause
Paste your wallet address instead of <YOUR_WALLET_ADDRESS>, and replace <WORKER_NAME> with any text string you’d like (your worker name really only matters if you have multiple mining rigs, so that you can tell them apart).
When you’re finished, the batch file should be formatted similarly to this one:
@cd /d "%~dp0"
t-rex.exe -a kawpow -o stratum+tcp://neox.2miners.com:4040 -u GQTARDX5WYHGQZf25kCp19dGZqqxLjJQ2G.RTX3080Ti -p x
pause
Make sure to save the file before you close it.
Start Mining
All that’s left to do now is start your miner. To do this, right-click on your newly-created batch file and select Run as Administrator, then Yes. Alternatively, you can simply run the file by double-clicking on it, but running as administrator is best practice for mining clients.
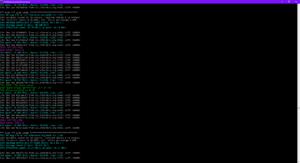
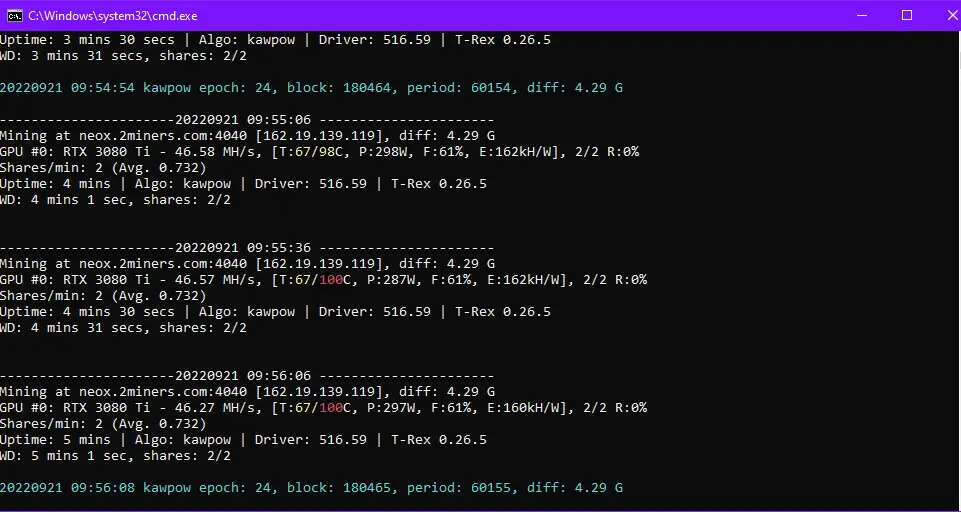
When your command line shows a display similar to the one shown below, you’ll know you’re up and running.
Checking Mining Stats and Revenue
If you’re mining through the 2Miners pool as detailed above, you can easily check your mining stats by going to neox.2miners.com/account/<YOUR_WALLET_ADDRESS>. Alternatively, you can paste your wallet address into the search bar from 2Miner’s NEOX page.
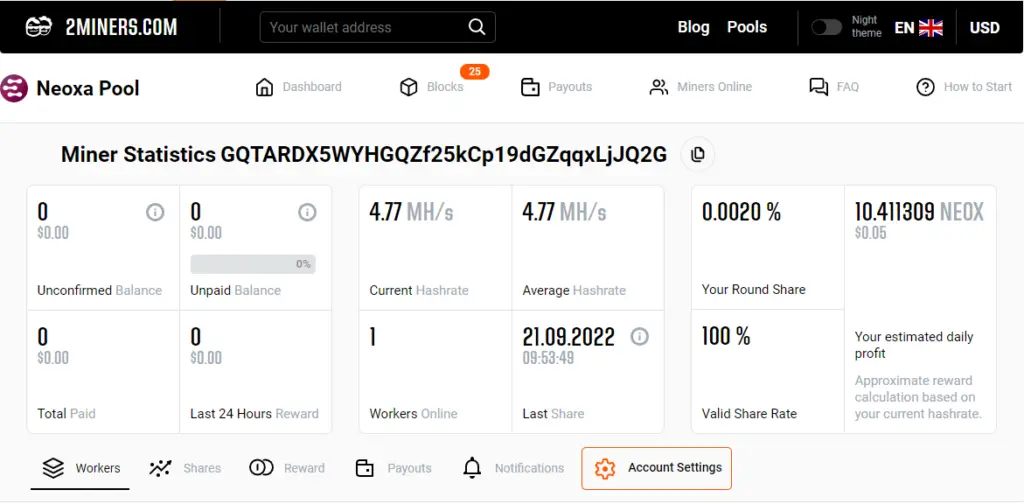
You’ll automatically be paid out periodically whether or not you check your stats, so this is entirely optional.
How to Mine Neoxa with Proof of Game
Currently, Neoxa only supports earning rewards via playing games (Proof of Game mining) for Rust, but they’re planning on adding Fortnite compatibility in the near future.
To do this, download Rust (if you don’t have it already) and press F1 in the main menu. Next, type connect 164.132.203.237:28015, and you’ll be loaded into Neoxa’s Rust server.
Next, open the in-game chat by pressing T, then type the following:
/addwallet <YOUR_WALLET_ADDRESS>From this point, you’ll begin earning Neoxa rewards simply for playing Rust. If you want to view your POG mining statistics, type /stats into the in-game chat.

